Preheat your oven to 350°F (175°C).
In a medium bowl, whisk together the flour, baking soda, ground ginger, ground cinnamon, ground cloves, and salt. Set aside.
Step 2: Cream the Butter and Sugar
In a large bowl, use a hand mixer or stand mixer to cream together the softened butter and brown sugar until light and fluffy.
Add the egg and molasses to the butter mixture, beating until well combined.
Step 3: Combine the Wet and Dry Ingredients
Gradually add the dry flour mixture to the wet ingredients, stirring until a dough forms. It may be a bit sticky, but that’s okay!
Step 4: Shape the Biscuits
Scoop out tablespoon-sized portions of dough and roll them into balls.
Place the dough balls onto a parchment-lined baking sheet, spacing them about 2 inches apart.
If you prefer a crispier biscuit, gently press each dough ball flat with your fingers or the back of a spoon.
Step 5: Bake
Bake for 10–12 minutes, or until the biscuits are golden brown around the edges.
Allow the biscuits to cool on the baking sheet for a few minutes before transferring them to a wire rack to cool completely.
Step 6: Serve and Enjoy
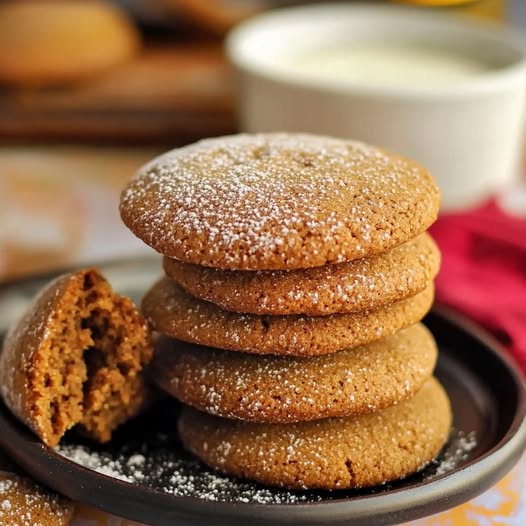
Serve these ginger biscuits warm with a cup of tea or coffee, or enjoy them as a sweet treat any time of the day.
Serving and Storage Tips


Yo Make również polubił
Passion Fruit Ice Cream Without a Machine: A Refreshing, Creamy Delight
Przypalenie ząbka czosnku, co się dzieje po 15 minutach w domu
9 symptoms of vitamin B12 deficiency!
Fluffy, Soft Dinner Rolls – A Must-Try for Any Occasion!