
In a large skillet or Dutch oven, cook the ground beef over medium heat, breaking it up into crumbles as it cooks. Once the beef is browned and cooked through, drain any excess fat.
Sauté the Vegetables:
Add the chopped onion and minced garlic to the skillet with the beef, cooking for about 3-4 minutes until the onion becomes translucent and fragrant.
Add the Sauce Ingredients:
Stir in the diced tomatoes (with their juice), beef broth, Worcestershire sauce, ketchup, paprika, salt, and pepper. Bring the mixture to a simmer and cook for about 5 minutes to allow the flavors to combine.
Cook the Pasta:
Add the uncooked pasta to the skillet, stirring to combine. Ensure the pasta is fully submerged in the sauce. Cover the skillet and simmer for about 10-12 minutes, stirring occasionally, until the pasta is cooked and has absorbed some of the sauce. If the mixture gets too thick, add a little extra broth or water to loosen it up.
Add the Cheese:
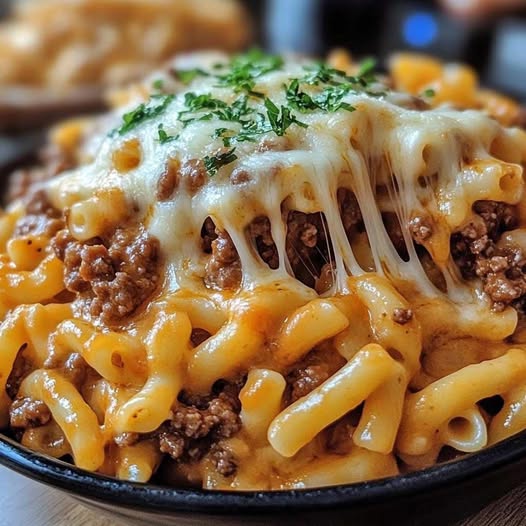
Once the pasta is cooked, reduce the heat to low and stir in the shredded cheddar and mozzarella cheese. Continue stirring until the cheese is melted and the pasta is evenly coated.
Serve:
Once everything is combined and cheesy, remove from heat. Garnish with chopped fresh parsley if desired. Serve hot and enjoy!
Serving and Storage Tips

Yo Make również polubił
Zucchini and Potato Fritters – A Flavorful, Budget-Friendly Delight
Garlic Butter Chicken with Parmesan Rigatoni Pasta
Cajun Sausage and Garlic Butter Pasta
Cranberry Orange Cake: A Fresh and Zesty Holiday Treat